DNN has powerful User Management controls, but sometimes you need to use your companies Azure Active Directory configuration or Office 365 credentials (those are really the same). This provides a robust integration with your organization and whatever content you are trying to serve with DNN.
DNN Authentication Providers
DNN has built in support for OAuth2 Authentication Providers that allow you to integrate the platform with really anything that supports OAuth2. This includes Azure AD, Facebook, Google and even Microsoft Live Accounts. If you are a developer there are some great examples available at dnnsoftware.com. If you aren’t a developer don’t worry, there are some useful tools for you as well.
Some of the content may seem a bit dated, but it still works today. I used the referenced docs for building my own DNN Authentication Provider
If you are not a developer I told you not to worry as I have plenty of information for you. The first link above has general information to many DNN Authentication Providers that are free to download and use.
If you are more interested in Azure AD keep reading, because non of this requires writing a single line of code!
Configure Azure AD
Before we get started you really need to have your Azure AD (Active Directory) configured and working. We are not going to show you how to create a new directory in Azure, that is a separate tutorial all together. If you don’t have your directory created, go ahead and create it! If you need help check out the Azure Active Directory Documentation from Microsoft
App Registration
When you configure any integration with Azure AD you need to specify an App Registration, sometimes tools automatically do this for you as part of the configuration process. This isn’t common for custom integrations, but more common for setting up tools like Office 365 or Azure DevOps.
In our case we need to manually create an App Registration in Azure AD
- Log into the Azure Portal
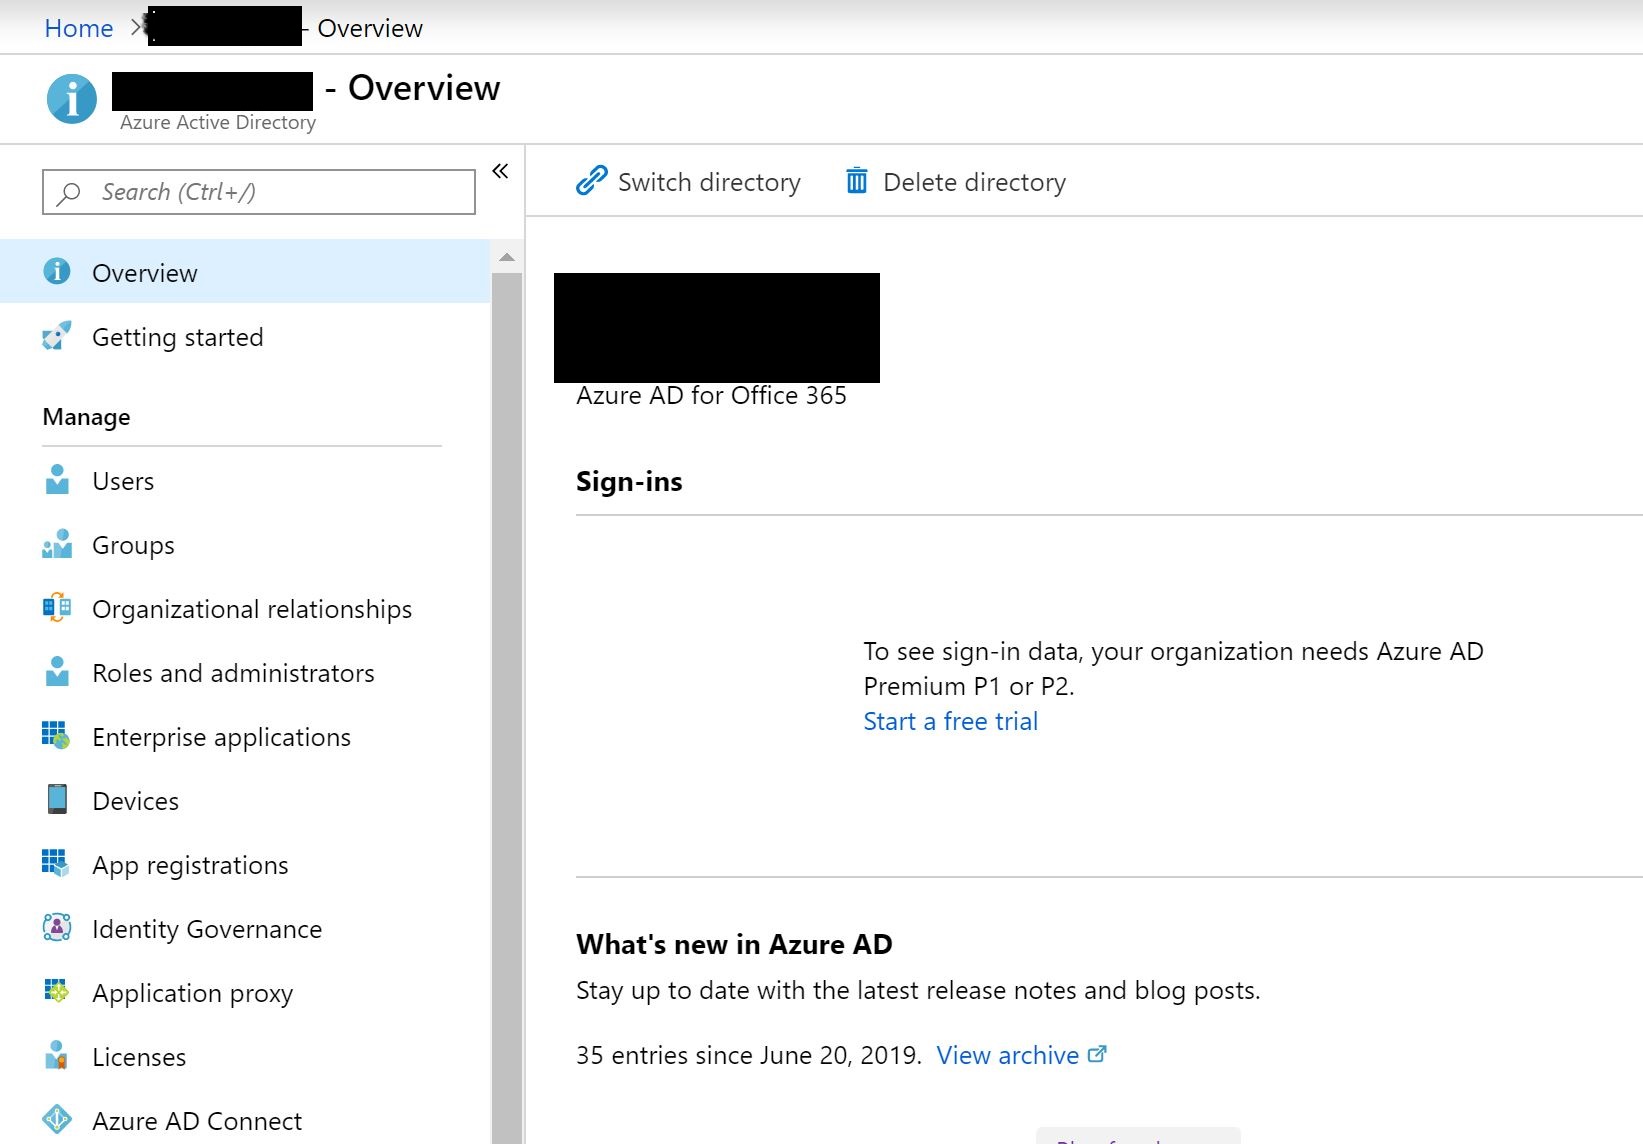
- Navigate to the Azure AD Blade
You should see a screen like this
Search for the App Registrations blade, and open it up. Azure is always improving the UI, when I was working through this demo they were soliciting feedback about their new UI.
The App Registration blade will look something like this:
Now we can go ahead and create our new App Registration. Select the New Registration button to get started
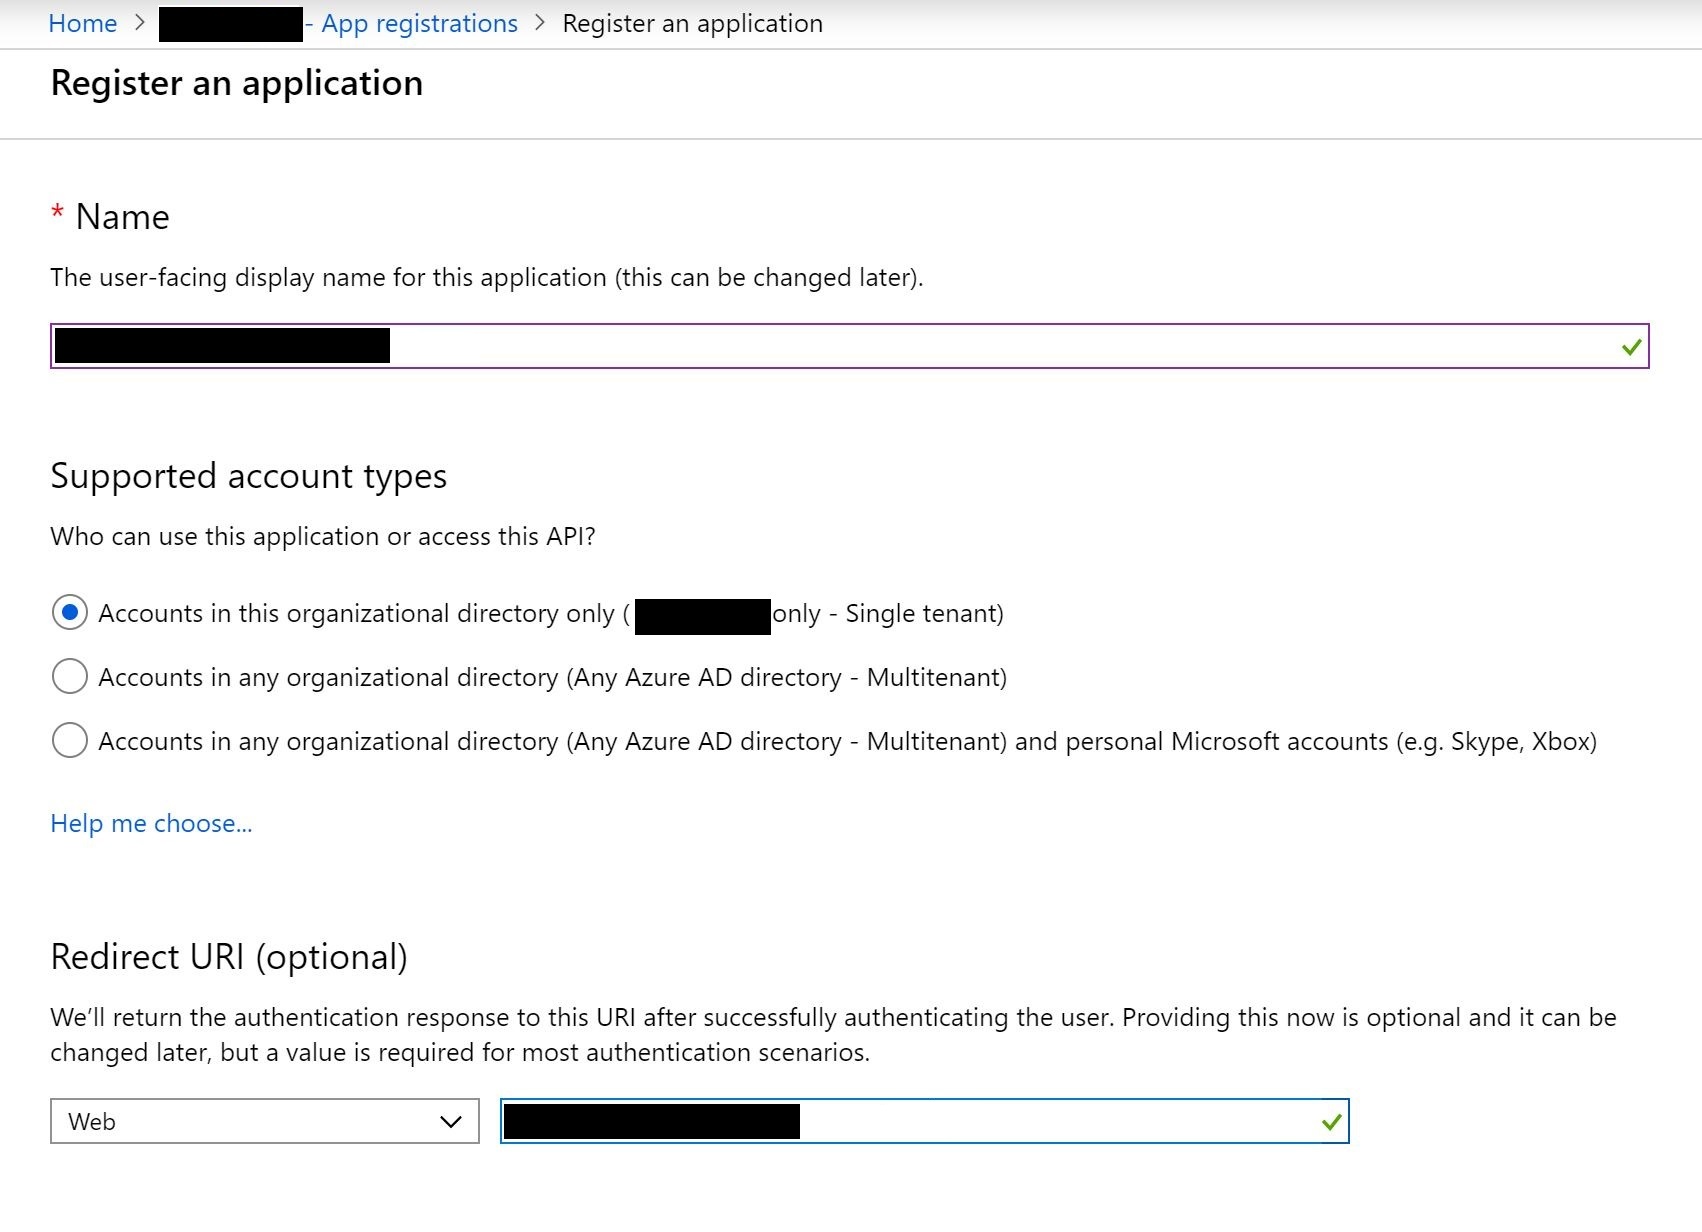
Simply fill out the form
- Display Name - This can be whatever you want
- Supported Account Types - Defines the type of authentication. I** recommend using Single Tenant which is only accounts in your Azure AD**
- Redirect URI - this is your login path to your DNN website for example https://dnncommunity.org/login
Create Secrets
The Azure Portal is now going to display several GUIDs, every ID listed below should be treated as an app secret and should never be stored in plain text:
- Directory (Tenant) ID
- App (Client) ID
- Secret Key - This can be thought of as a password that can be reset in-case of breach
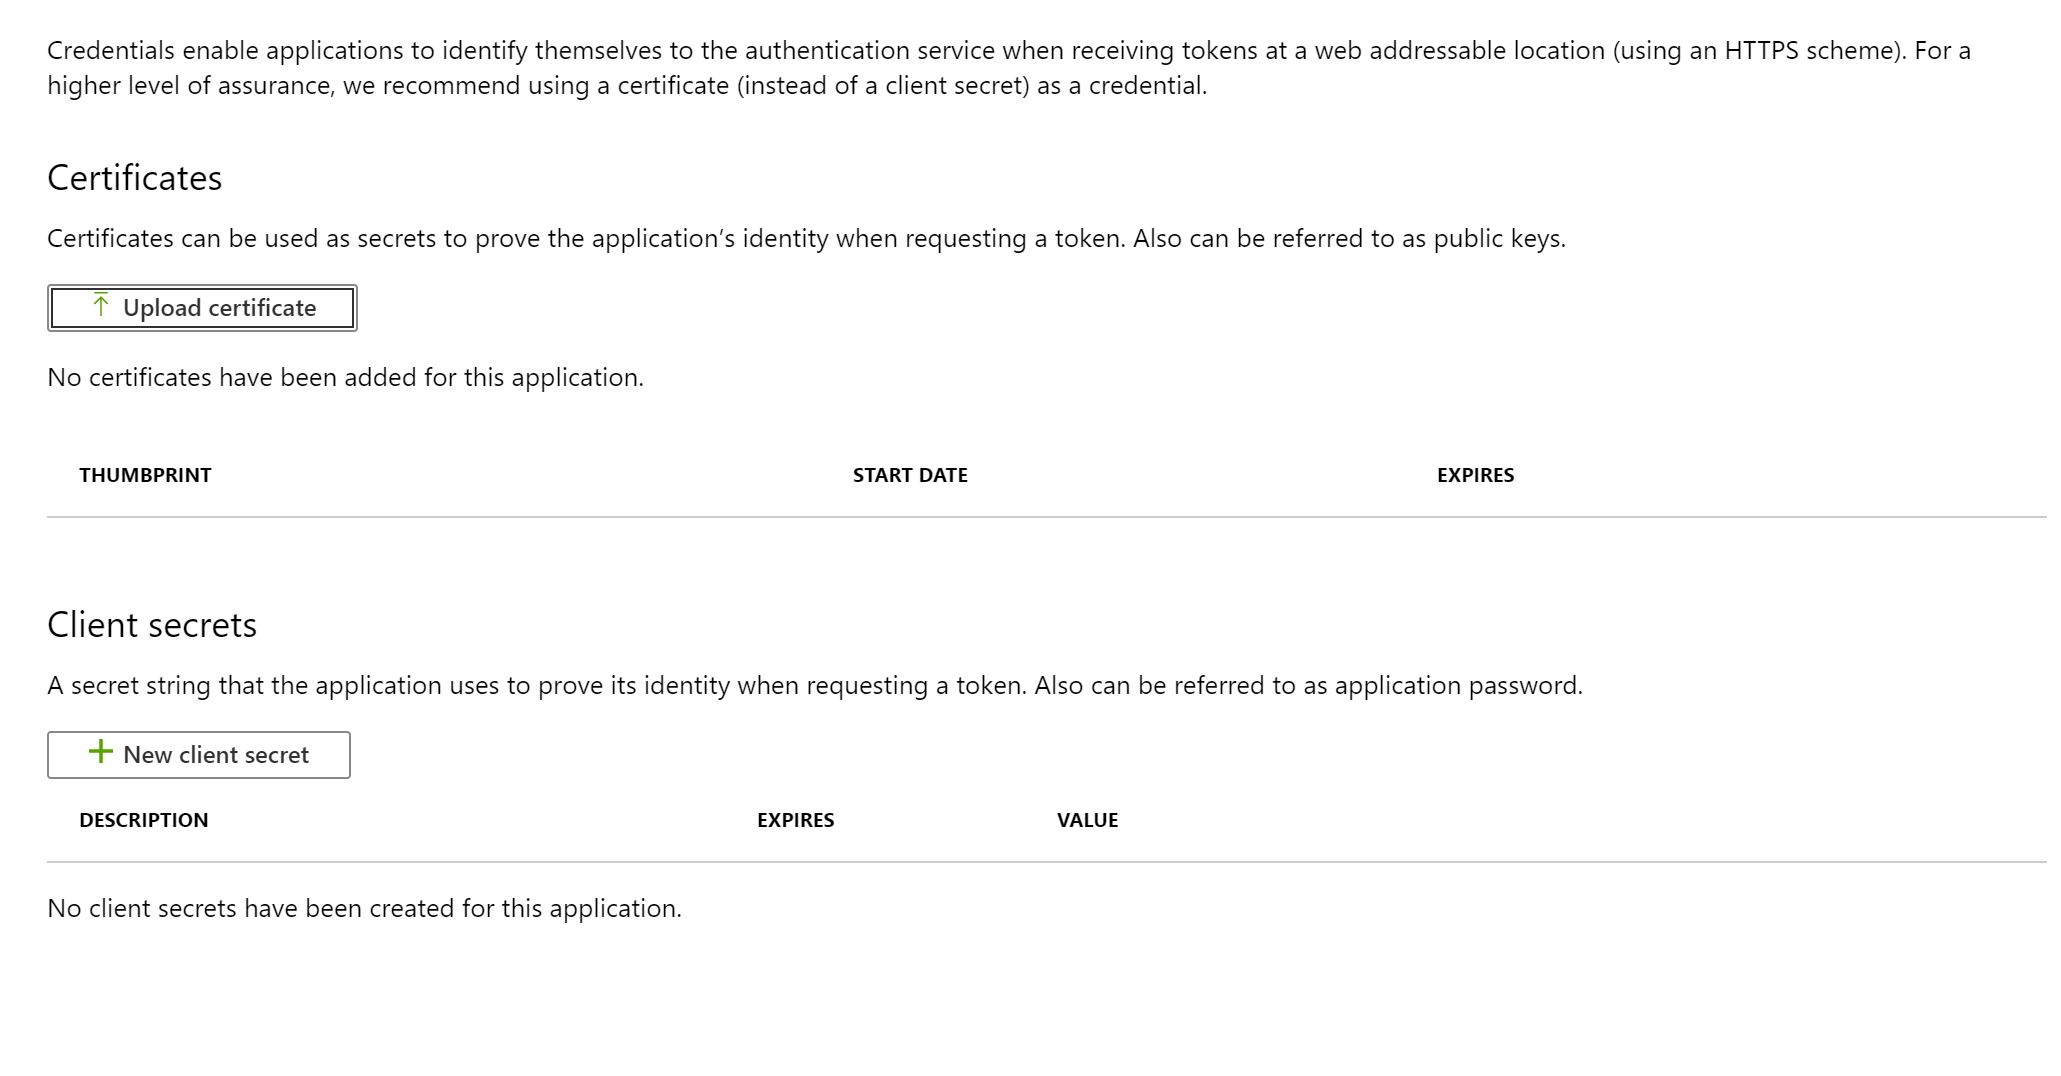
We need to go and create our App Secret to finish our configuration process. In the navigation blade, search for Certificates & Secrets.
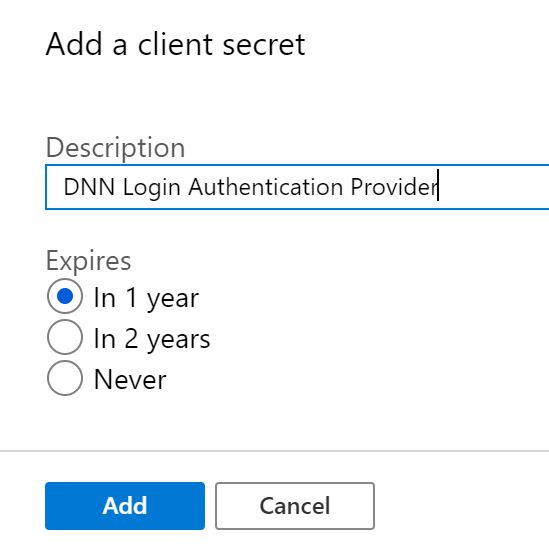
Once on the Certificates & Secrets page select New Client Secret to generate a new client secret.
Add a meaningful secret description, you will need to remember or understand what this secret is used for. The last thing you want to do is revoke a secret in the future that you have no idea what it provides. Remember, that you will only ever be able to see the secret value once.
I typically store secret values in the Azure Key Vault for safe keeping, but that goes outside the scope of this
Once you generate the secret, be sure to grab your secret value and hold onto it in a safe place. We will need it when we configure DNN, without it nothing will work
Azure is all configured and now we can start working on DNN and finalize our setup.
Configure DNN
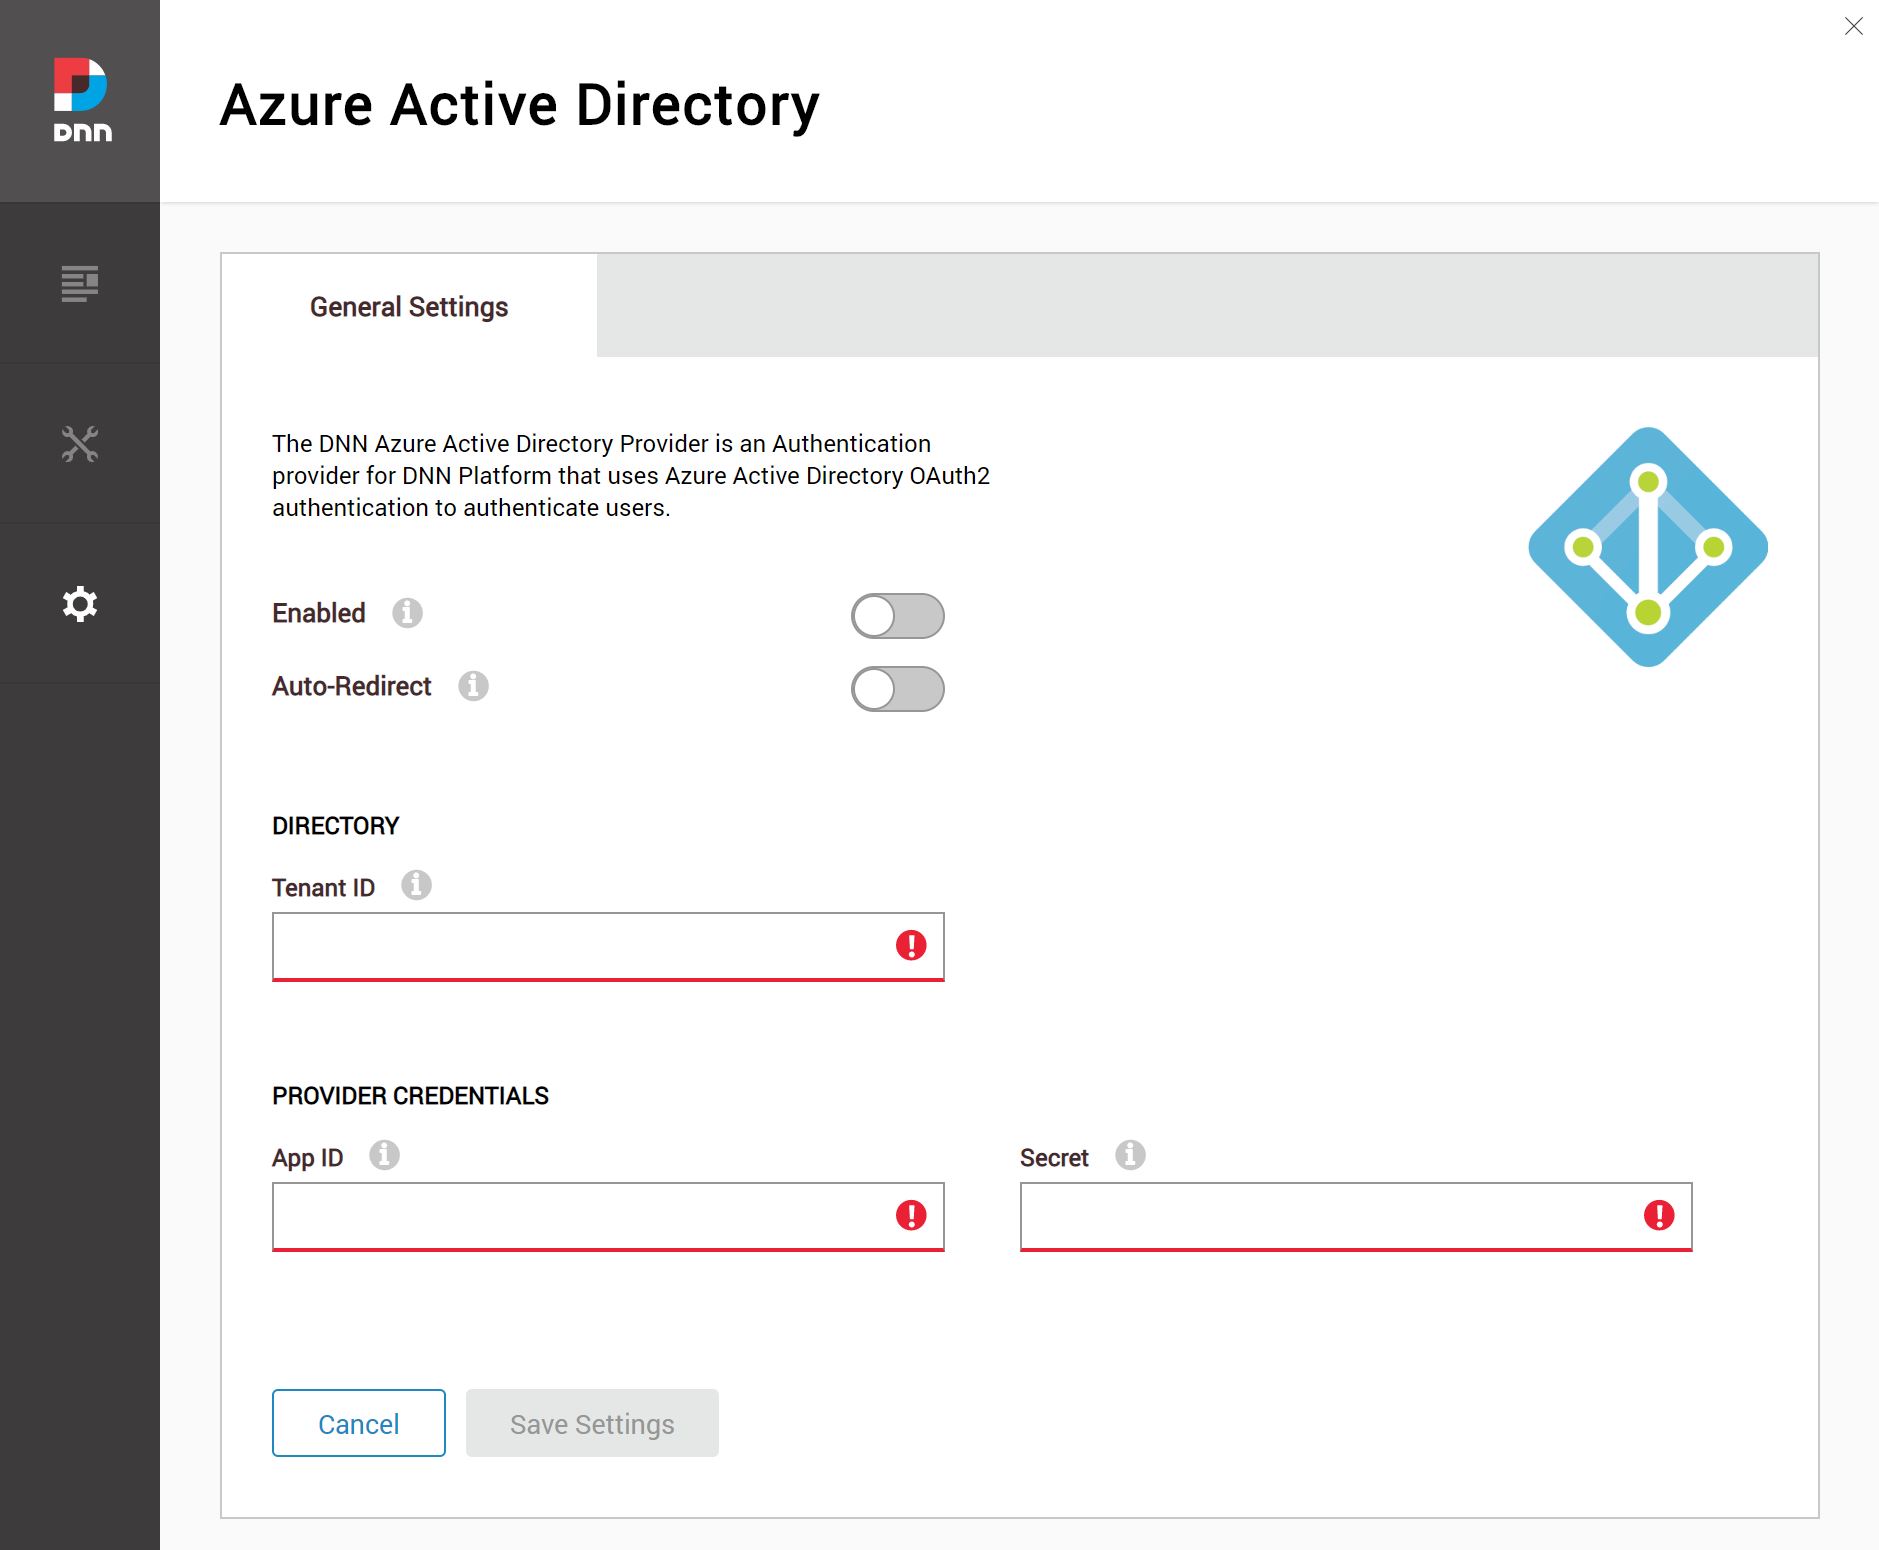
Connecting DNN to Azure AD is actually the easiest part of this setup, now that everything is all configured on Azure it is a matter of installing the module and plugging in the necessary Azure AD secrets we discussed earlier:
- Directory (Tenant) ID
- App (Client) ID
- Secret Value
Open Source Module
There is an Open Source Authentication Provider Module that is built by David Rodríguez
At the time of writing this article we are using v3.1.0 on DNN 9.4.1
Go ahead and download module installer zip file, which we will install into our DNN instance.
Install & Configure
Go ahead and install the new Module into your DNN instance, remember you will need to do this with a Host level admin user. Once installed there will be a new Persona Bar menu
- Settings > Azure AD
Copy over the GUIDs that you saved from the Azure Portal earlier, if you forgot the IDs you need here is the list:
- Directory (Tenant) ID
- App (Client) ID
- Secret
Once you fill everything out, you can enable and save your configuration.
Login Test
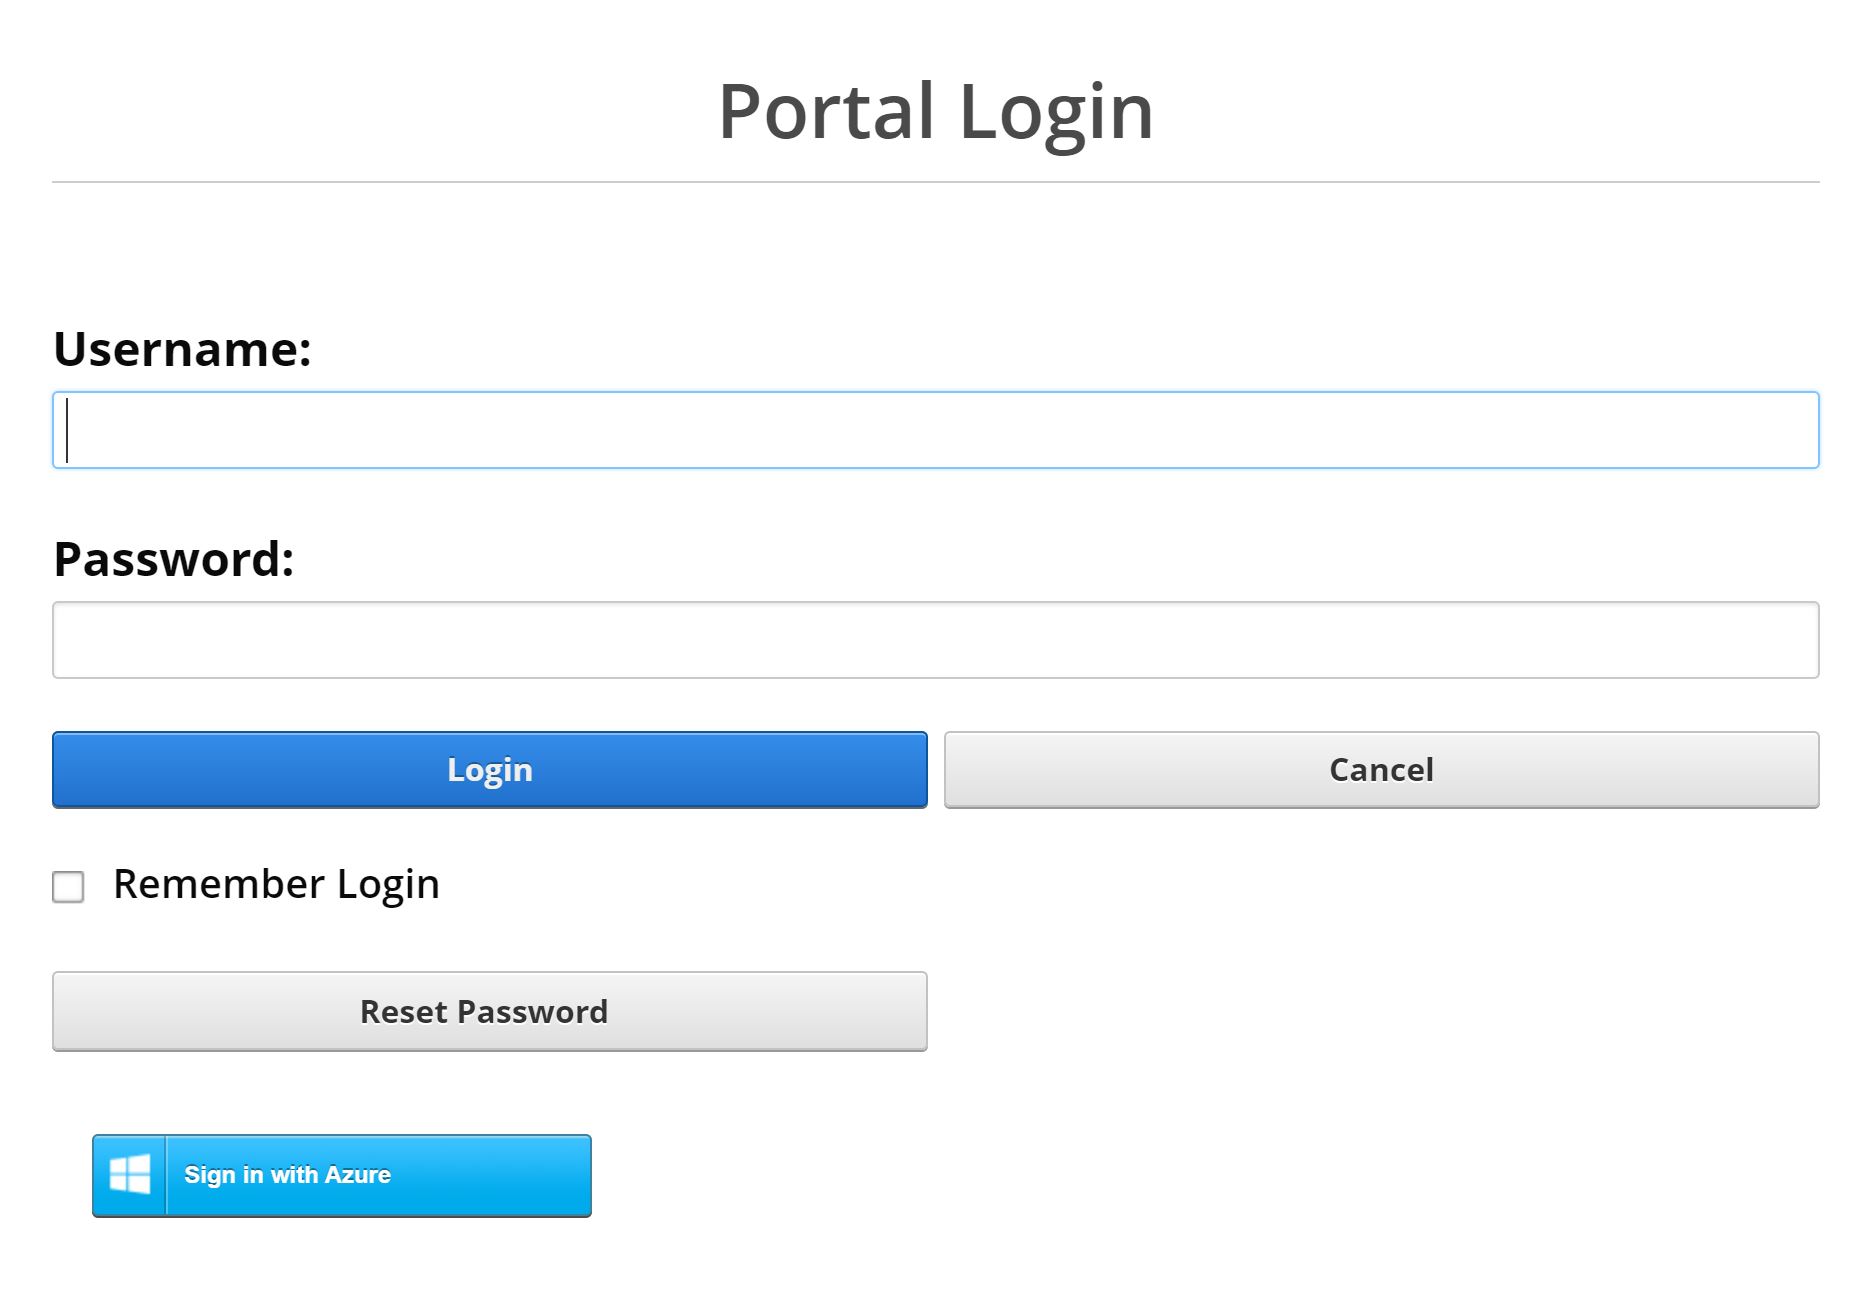
Now if you navigate to your login page you will see a new Sign in with Azure button, which will trigger the Azure AD Login.
When you Sign in with Azure you will be redirected back to your DNN instance and an admin will need to authorize the user. Or you can configure DNN to auto authorize, but that goes into more DNN configuration than just the Authentication Provider
What’s Next?
You should now have a successfully configured DNN site that integrations with Azure AD. This is great but what do you do next to take the install to the next level, or do you really need something 100% custom instead of using the free open source module?
I have built 100% custom Azure AD Authentication Providers for DNN that support all Azure AD mechanisms
- Azure AD B2C - Business to Consumer
- Azure AD B2B - Business to Business
- Azure AD - Standard Single Tenant
While building these custom providers I have learned when I would want to re-build the module or use a plug-and-play solution like this.
Authenticate with Azure
If you just want to create a simple DNN site that uses Azure AD, this is a great solution for you. Just remember a host user may need to go in and authorize users or assign custom roles.
Custom Roles
If you are working in a large enterprise that heavily uses Azure AD, you may want to send claims through with your Azure AD integration. Reading the claims is supported in DNN and you can automatically assign roles in DNN.
As of version 3.1.0 there is no support for utilziing these claims, so there is no way to auto-assign roles
-Happy Coding
