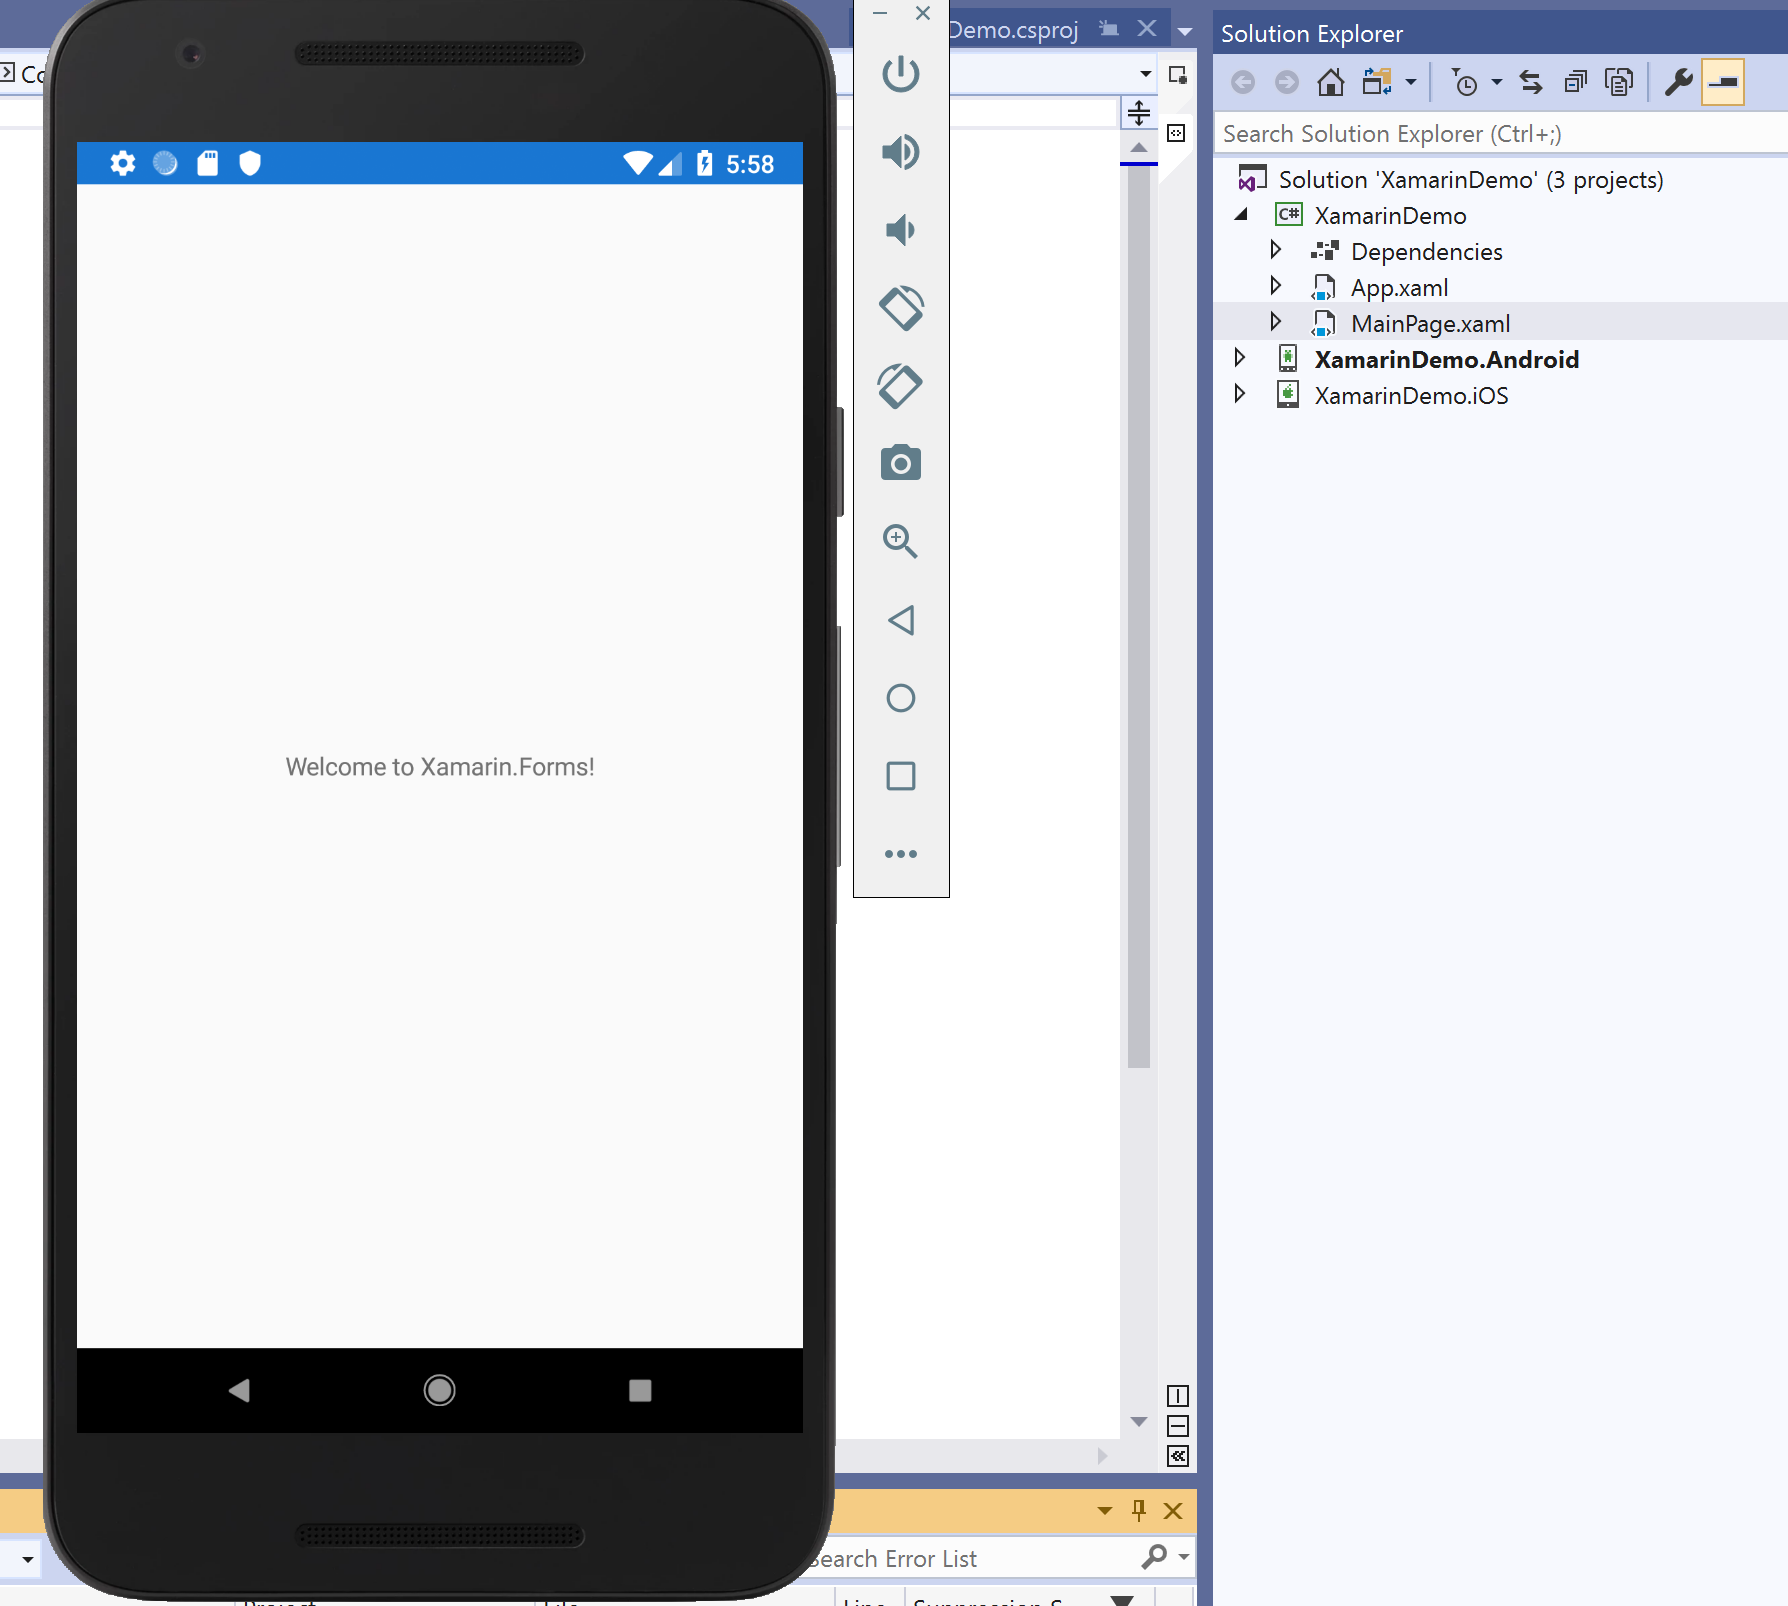
New machine and new project means getting to test drive a new way of development Xamarin and Xamarin.Forms applications. I have a clean Surface Book 2 running Windows 10 that I installed the latest and greatest version of Visual Studio 2019 and JetBrains Rider 2018.3.4. After configuring my emulators and everything in Visual Studio, I load up JetBrains Rider and nothing seems to work correctly. Why does it work in Visual Studio 2019 but not JetBrains Rider?
The Problem
After getting everything installed correctly, I created a sample Xamarin.Forms application in Visual Studio 2019. Created my emulator, launched my app and everything appeared to work without issue. A simple Hello World app that comes with the standard template.
Heading over to JetBrains Rider, I follow the same step, except I got multiple errors during the deployment phase. As well as no emulators appearing in the selection dropdown.
Digging a little deeper into the problem, I noticed that there were errors in the ADB connection when I tried to use JetBrains Rider’s file storage connection window.
JetBrains Forums
Searching the forums didn’t really seem to help, I found answers such as
Delete all your emulators and start over These really didn’t make sense to me. If you are still struggling with this exact same problem, read on!
Installation Path
When I installed Visual Studio 2019 the default Android SDK path was set to
1
C:\Program Files (x86)\Android\
Permissions, Permissions, Permissions
The windows file system gets very particular on what apps can read, write and execute certain files that are in certain locations. For example files on the C Drive or in Program Files are going to have different permissions than files that are in Documents or Downloads. As the later are user files vs the Program Files are system wide and typically require administrator permission.
The standard Windows Android SDK Installation Path
1
C:\Users\{User}\AppData\Local\Android\android-sdk
where {user} is your username
1
C:\Users\SkyeHoefling\AppData\Local\Android\android-sdk
Once updating the Android SDK you will need to update the SDK location in both Visual Studio and JetBrains Rider
JetBrains Rider Android SDK
- Launch JetBrains Rider and open project
- Navigate to the Android SDK via
Tools > Android > SDK Manager - Click
Editnext to the Android SDK Path
Visual Studio Android SDK
- Navigte to the Visual Studio Options via
Tools > Options - Scroll down to the bottom, and select
Xamarin - Update the Android SDK Location
Conclusion
When integrating different tools to complete your Xamarin (Android) Development Environment be aware that some of the non-Microsoft tools require permissions that Visual Studio handles for you.
Running as an elevated user isn’t always the answer (as that didn’t solve my problem)
-Happy Coding


