VSTS and Azure go so well together, any project is just a few key strokes away from deploying source code out to the cloud. Sometimes we don’t have the luxury of working in Azure and we need to use VSTS to securely deploy code out to any server. WIth the ease of built in scripts to VSTS and powershell access you can start deploying to IIS just as easy as Azure.
How Does it Work?
To deploy code from VSTS to your custom server you need to install a special VSTS service that runs on that server that is listening for VSTS code pushes. This securely communicates with VSTS using a Personal Access Token or PAT so it is easy to lock down this connection and turn it off if you ever need to.
Install The Agent
Let’s begin by installing the VSTS agent on our Server. There is nothing I need to memorize or custom script I need to write. Just follow these steps and VSTS will generate the correct script for you.
- Log into your VSTS instance and open the project of your choice
- Navigate to Builds and Releases -> Deployment Groups
Our Windows Server is technically a Deployment Group as far as VSTS is concerned. The idea at this point is create your Deployment Group and run the generated script.
- Select the “Add Deployment Group” or “New” Button
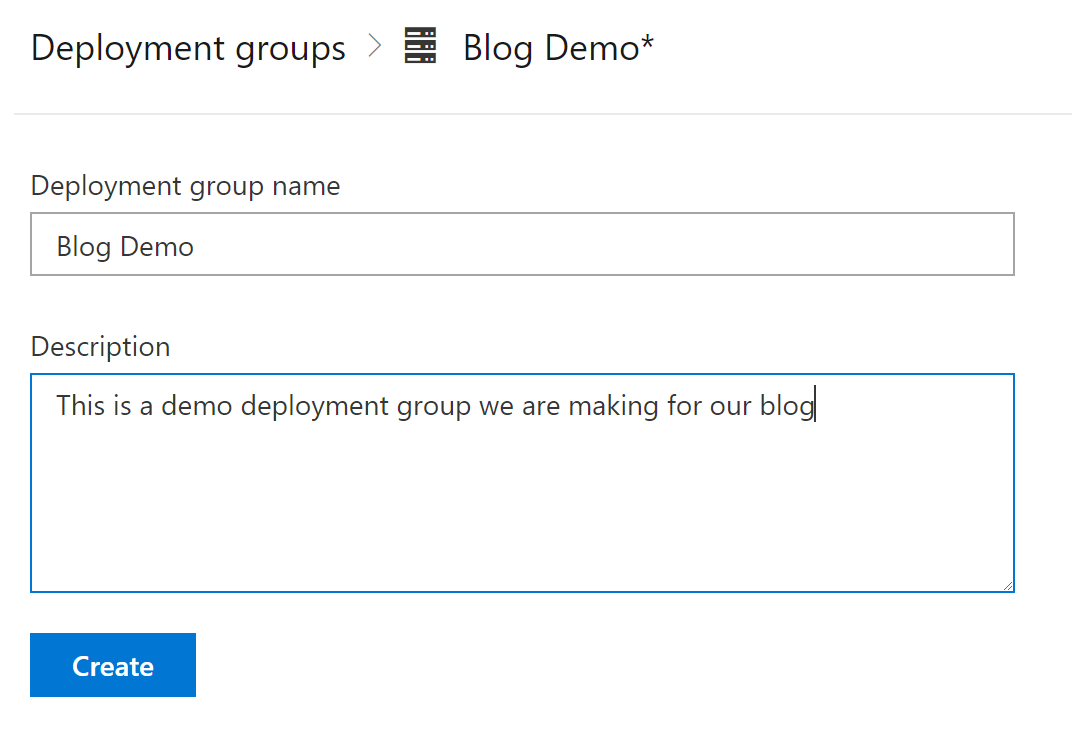
- Fill out the name and description for your Deployment Group. This information doesn’t really matter it can be anything you want
- Click on the create button
- The Deployment Group has been created!
- Before doing anything else make sure you check the “Use a Personal Access Token in the script for Authentication”
- Copy the script to your clipboard
- RDP into your Windows Server
- Open powershell, paste the script and execute it
The script will prompt you for a few things:
- Deployment Tags - you don’t need any
- Enter “N”
- Enter User Account
- Use the default account by hitting enter
All Set
The Agent is installed on your Windows Server and you don’t need to do anything else to get VSTS to communicate with it. The Agent will run in the background and starts automatically, so it is truly just a set it and forget it. You can always view the Agent Health from VSTS to see if the 2 servers are communicating correctly
Deploy Our Code
Let’s make a new build that will deploy our code out to our Windows Server. You will do this the same way you would with any build except the deployment portion is going to be different. We are going to assume you already have a CI build that generates the correct artifacts and we are working in a Release Build
Once we get our Release Build configured, we are going to start by updating our default empty pipeline by:
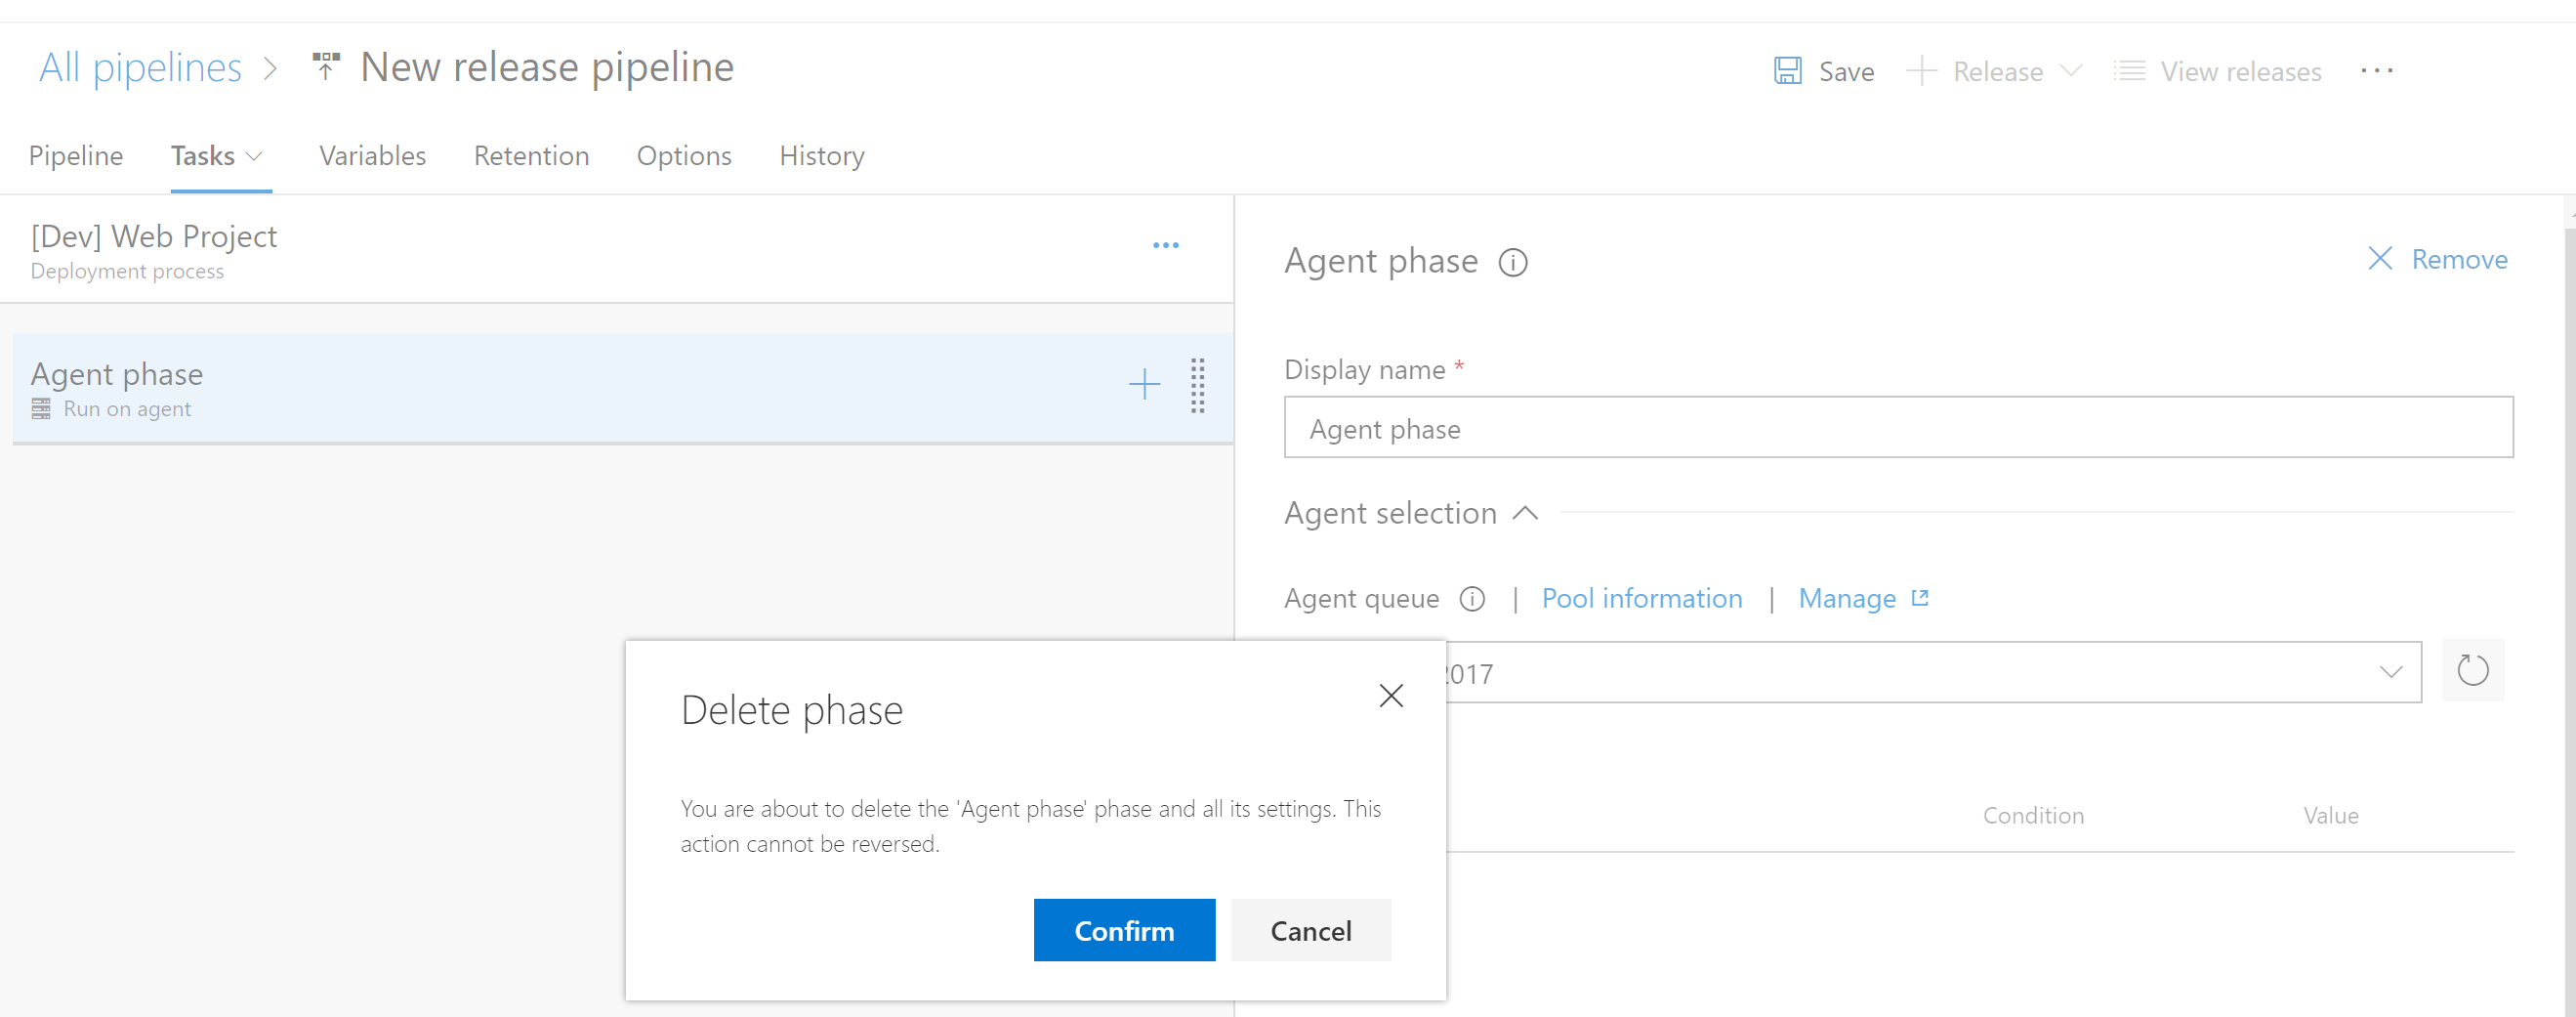
- Deleting the “Agent Phase”
Since we aren’t deploying to Azure and our Windows Server we need to specify the Deployment Group instead of the Agent Phase.
Follow the steps below to add in our Deployment Group and add our build steps
- Select the “…” on the right side of our pipeline as it is circled in the screenshot
- In the menu that opens up select “Add Deployment Group Phase”. The new phase will be added
- Select the Deployment Group that you created earlier as it should be available in the dropdown
Add the Tasks
Now that the Phase is properly added we can start adding the tasks to deploy the code.
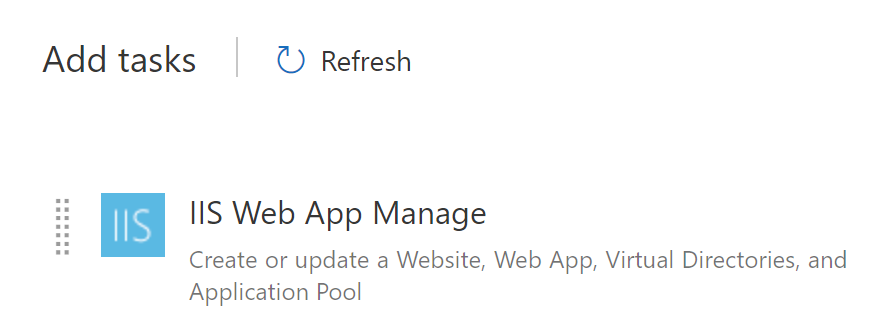
- Add “IIS Web App Manage”
- We are going to use the “Default Web Site” so there is really no configuration we need.
- Add “IIS Web App Deploy”
- This task is more or less the same as your Azure Web Deploy task. Just fill out your website name and configure the other parameters from there
At this point we can test our build and deployment, which should be deploying our Web App onto our custom Windows Server.
Conclusion
It is really easy to setup VSTS to deploy code out to any custom Windows Server that you would like to integrate with. This is not the only way to integrate a server with VSTS as the Agent supports many operting systems.


